Running an execution
Running an execution requires ck:ExecuteKit on the process ARN. Without it, the Run button appears as Forbidden. You also need ck:GetKit to access the process detail page.
Starting a new execution
From the process list or from a process detail page, click Run.
A "Run a process execution" modal opens where you can:
- Set the execution name (defaults to the process name)
- Search and add users or groups under Add users or groups, picking a role (Manager, Contributor, or Viewer) for each entry from the dropdown next to it
Refer to Process execution permissions for details on how roles are inherited and what each role can do.
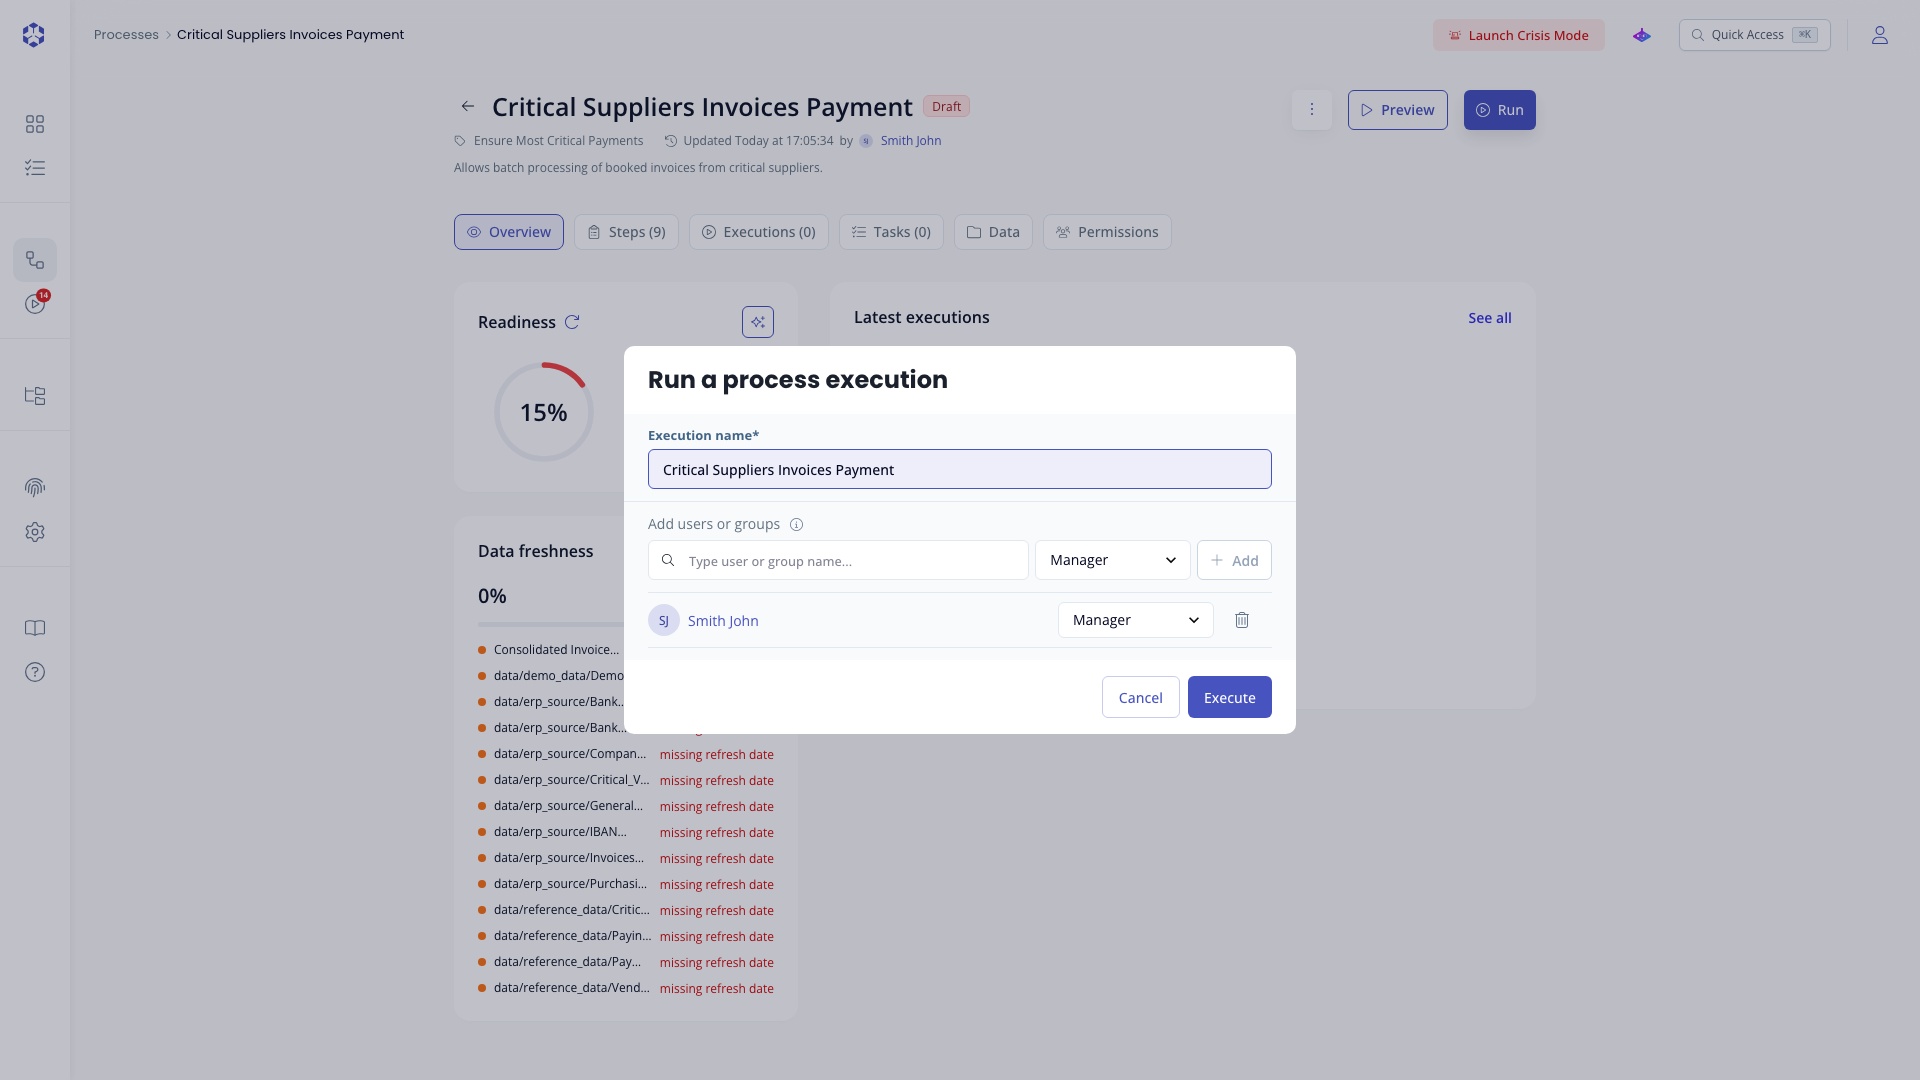 Run execution modal: name field and assigned users or groups.
Once configured, click Run. You are redirected to the execution detail page.
Execution detail page
The execution detail page shows the steps of the process and lets you work through them one by one.
Two navigation modes are available:
- List view: a sidebar lists all steps with their current status indicator. Click a step to open it in the main panel.
- Graph view: a visual flow diagram shows steps as nodes connected by dependency arrows. Click any node to open it.
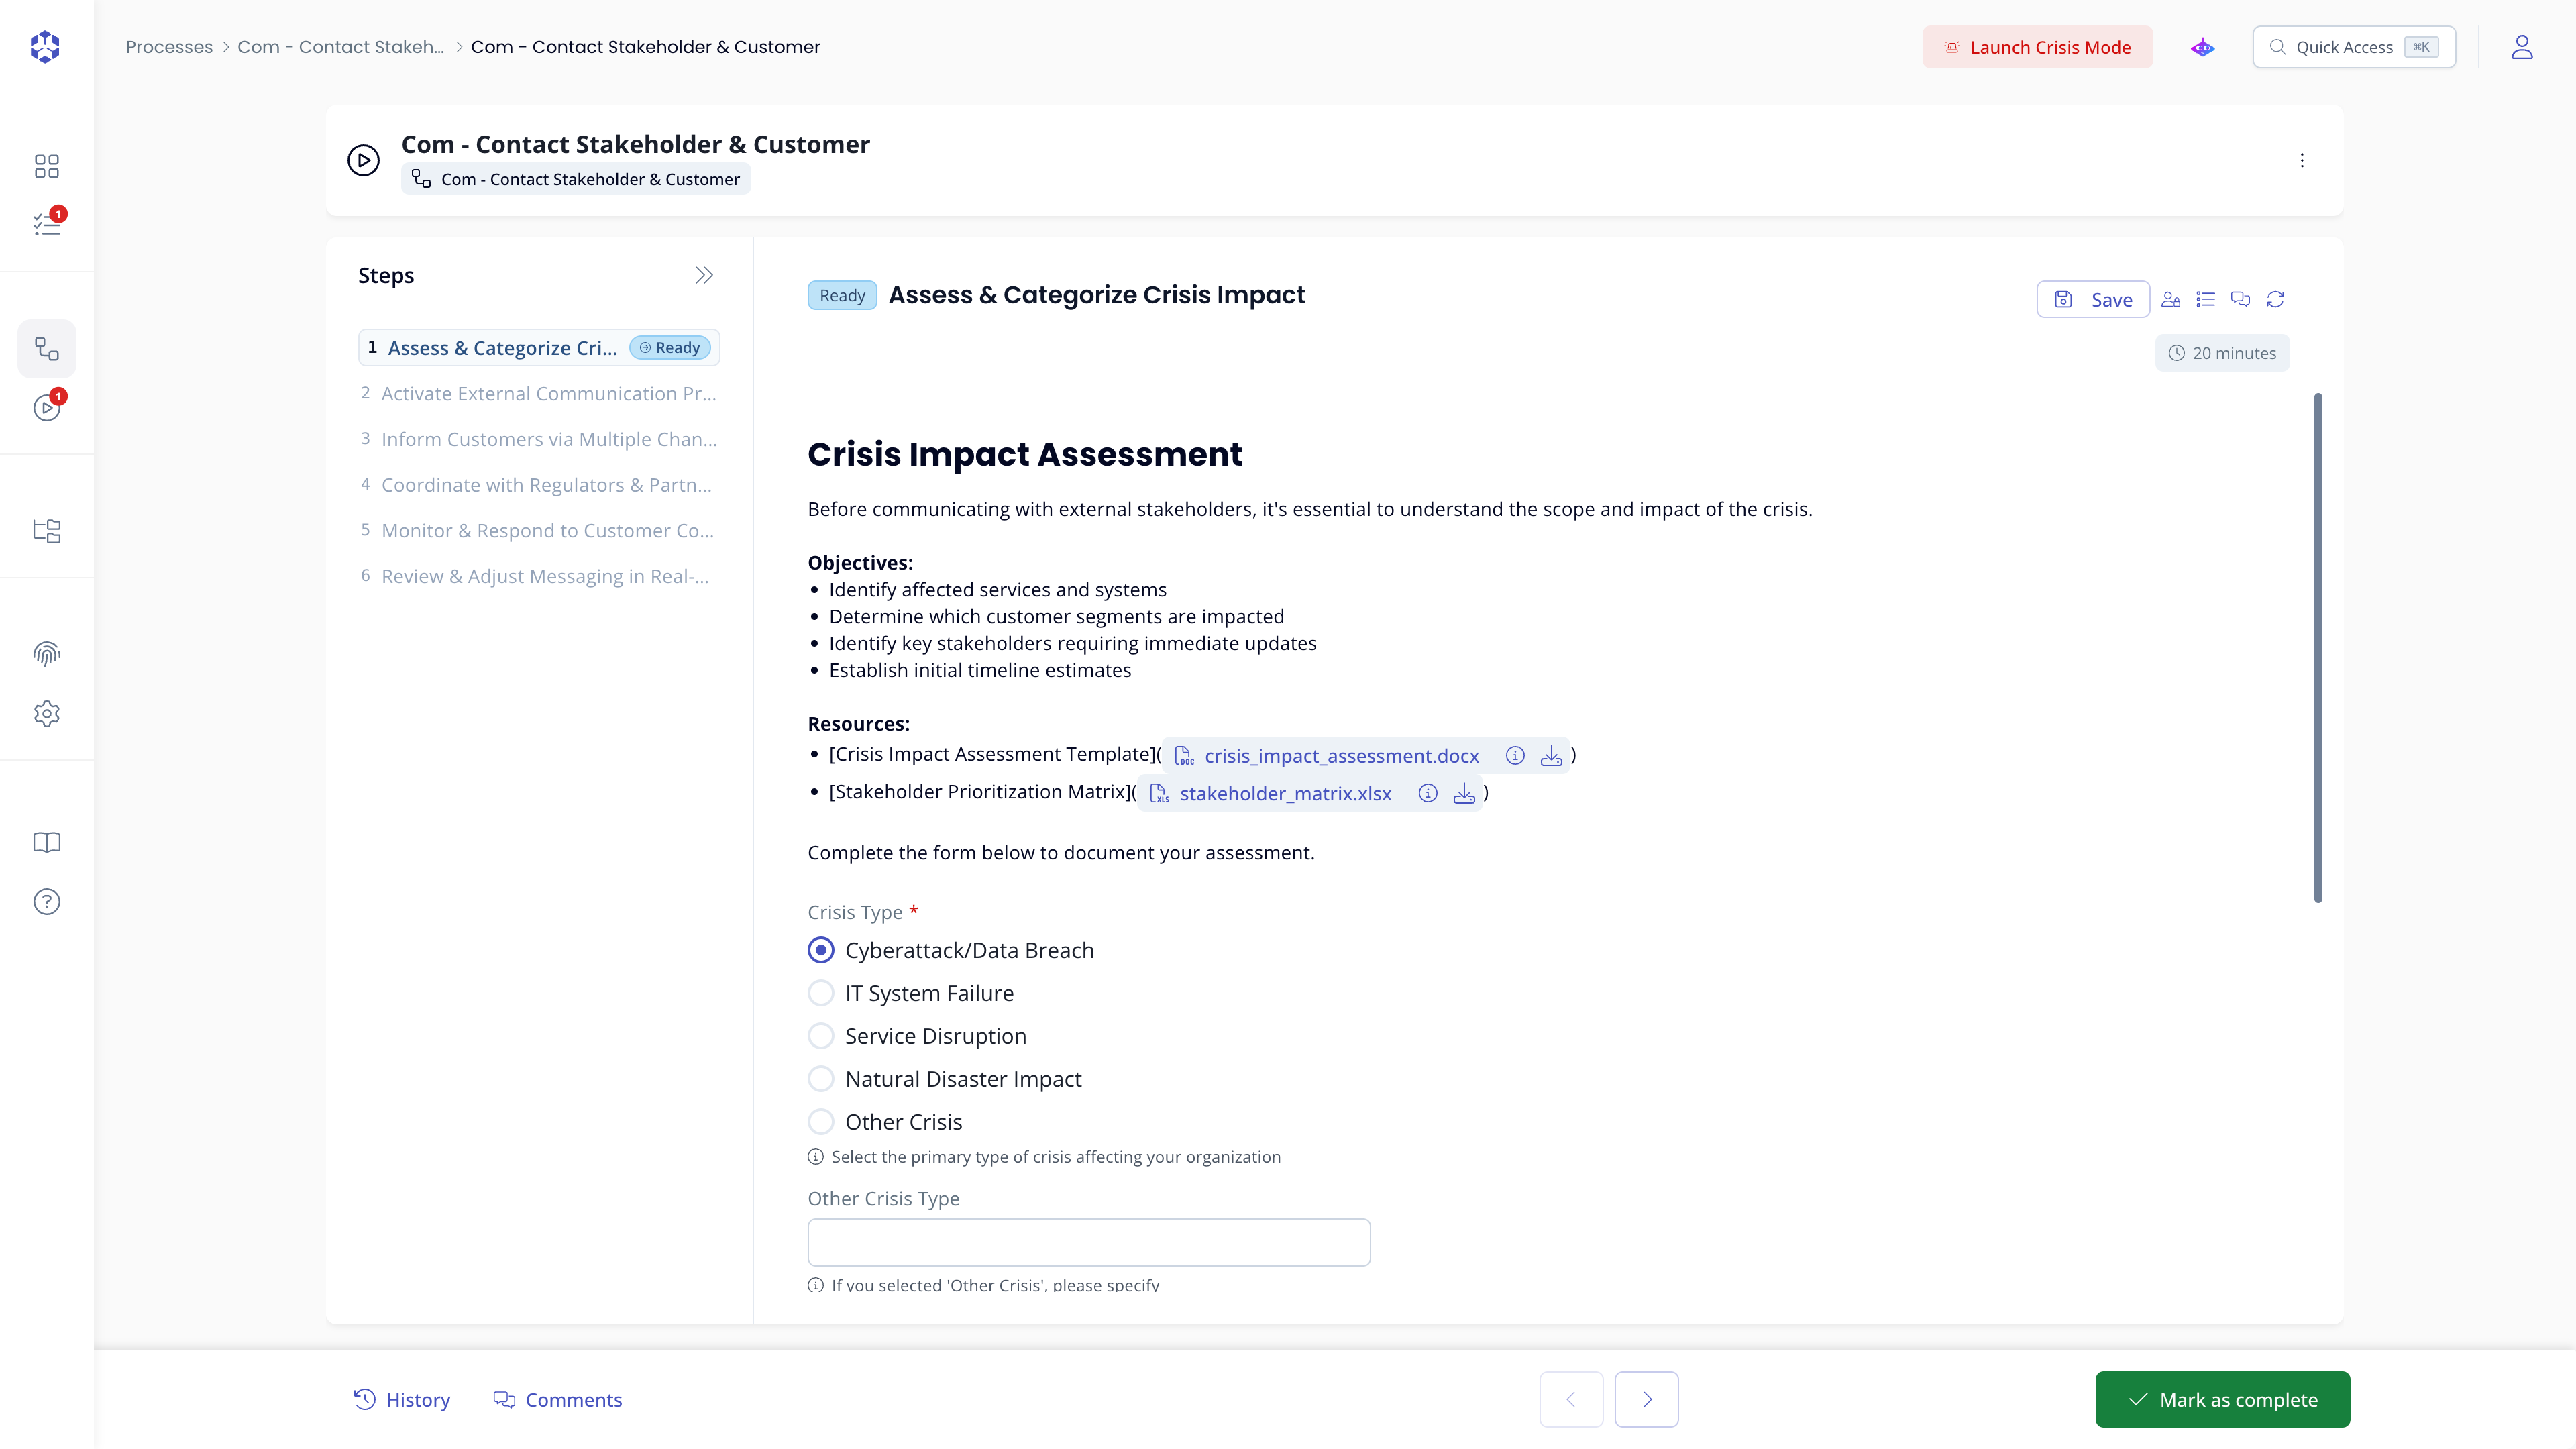 Execution detail, list view.
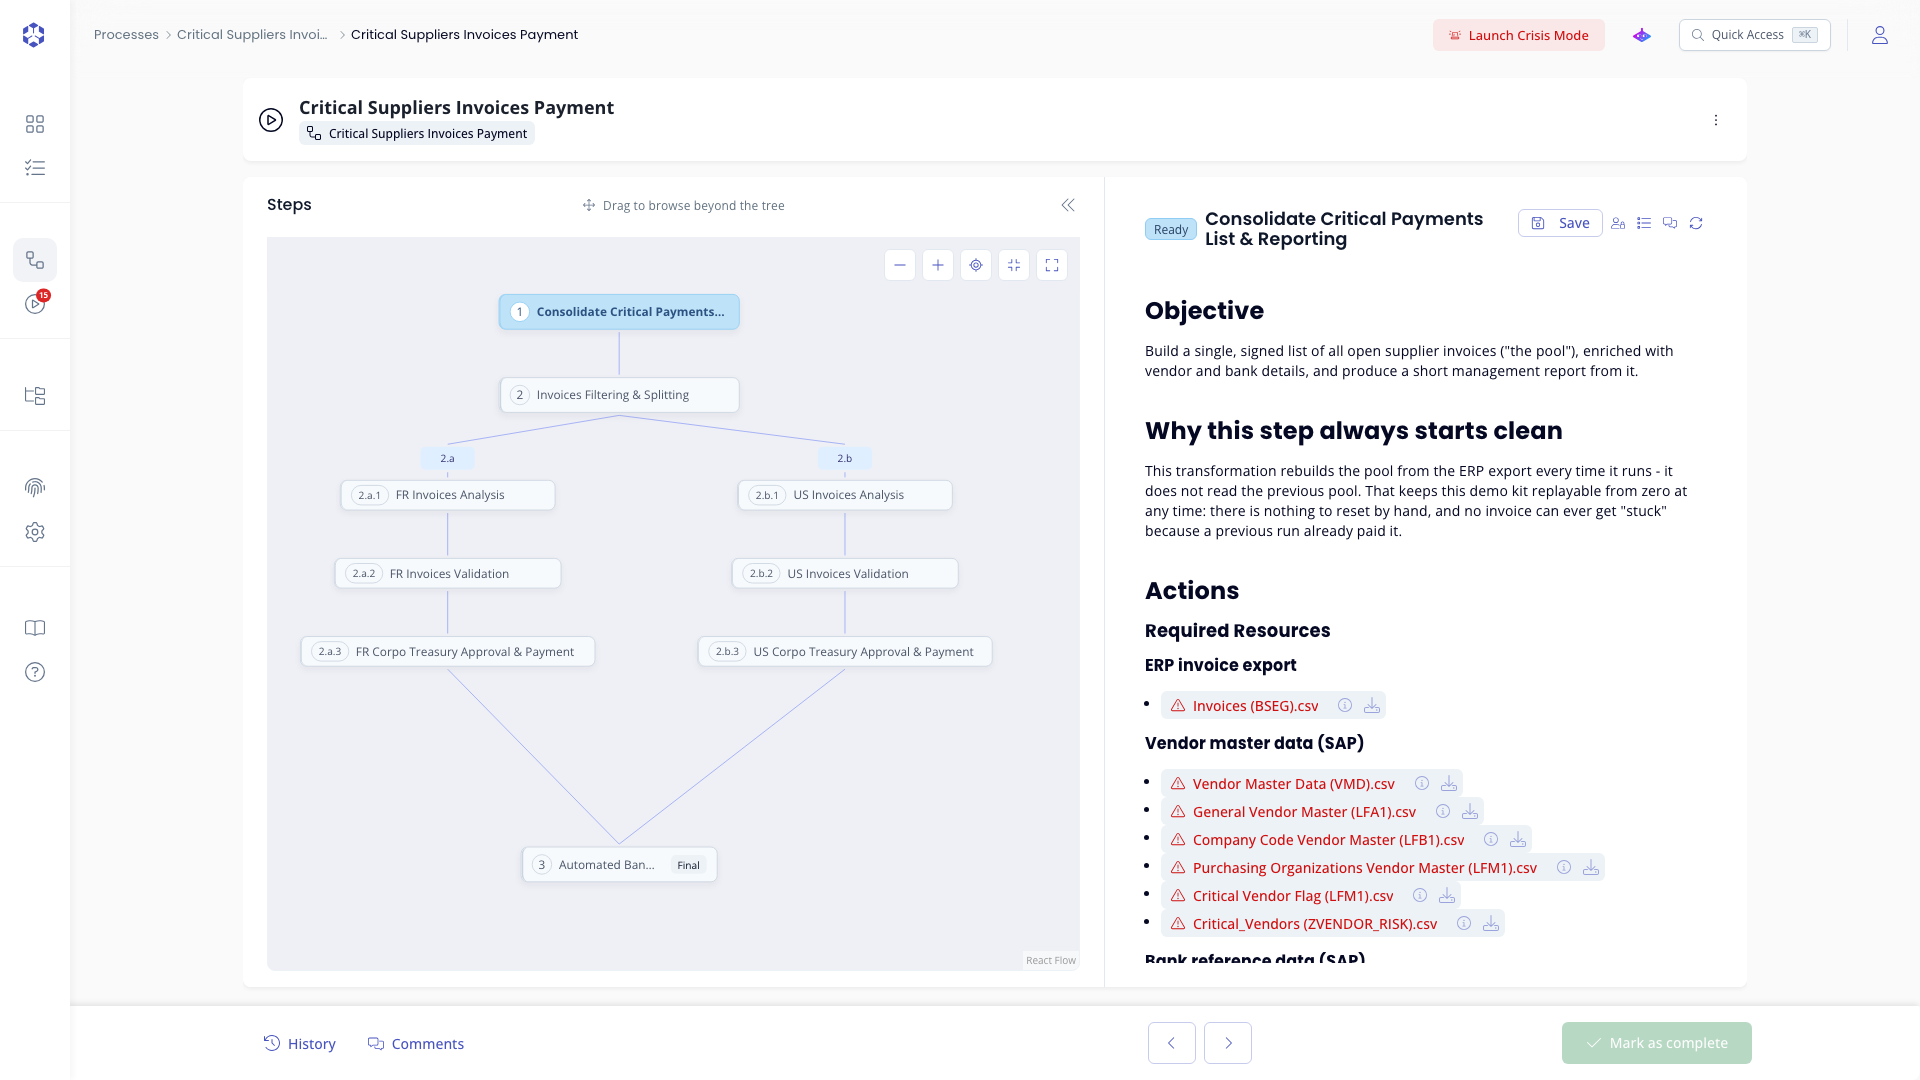 Execution detail, graph view.
Filling a step
Open a step to see its text content, form fields, and any automations. Fill in the required inputs before marking the step as complete.
File inputs
For file inputs, you can:
- Click Choose from computer to select a file from your device
- Click choose from Astran, browsing the explorer tree, selecting the file, then choosing the version to use
You can only access files in Astran for which your administrator has granted you rights.
Running automations
When a step has automations, click Run next to each automation to execute it. The status updates automatically; click Refresh at the top right of the step to force an update.
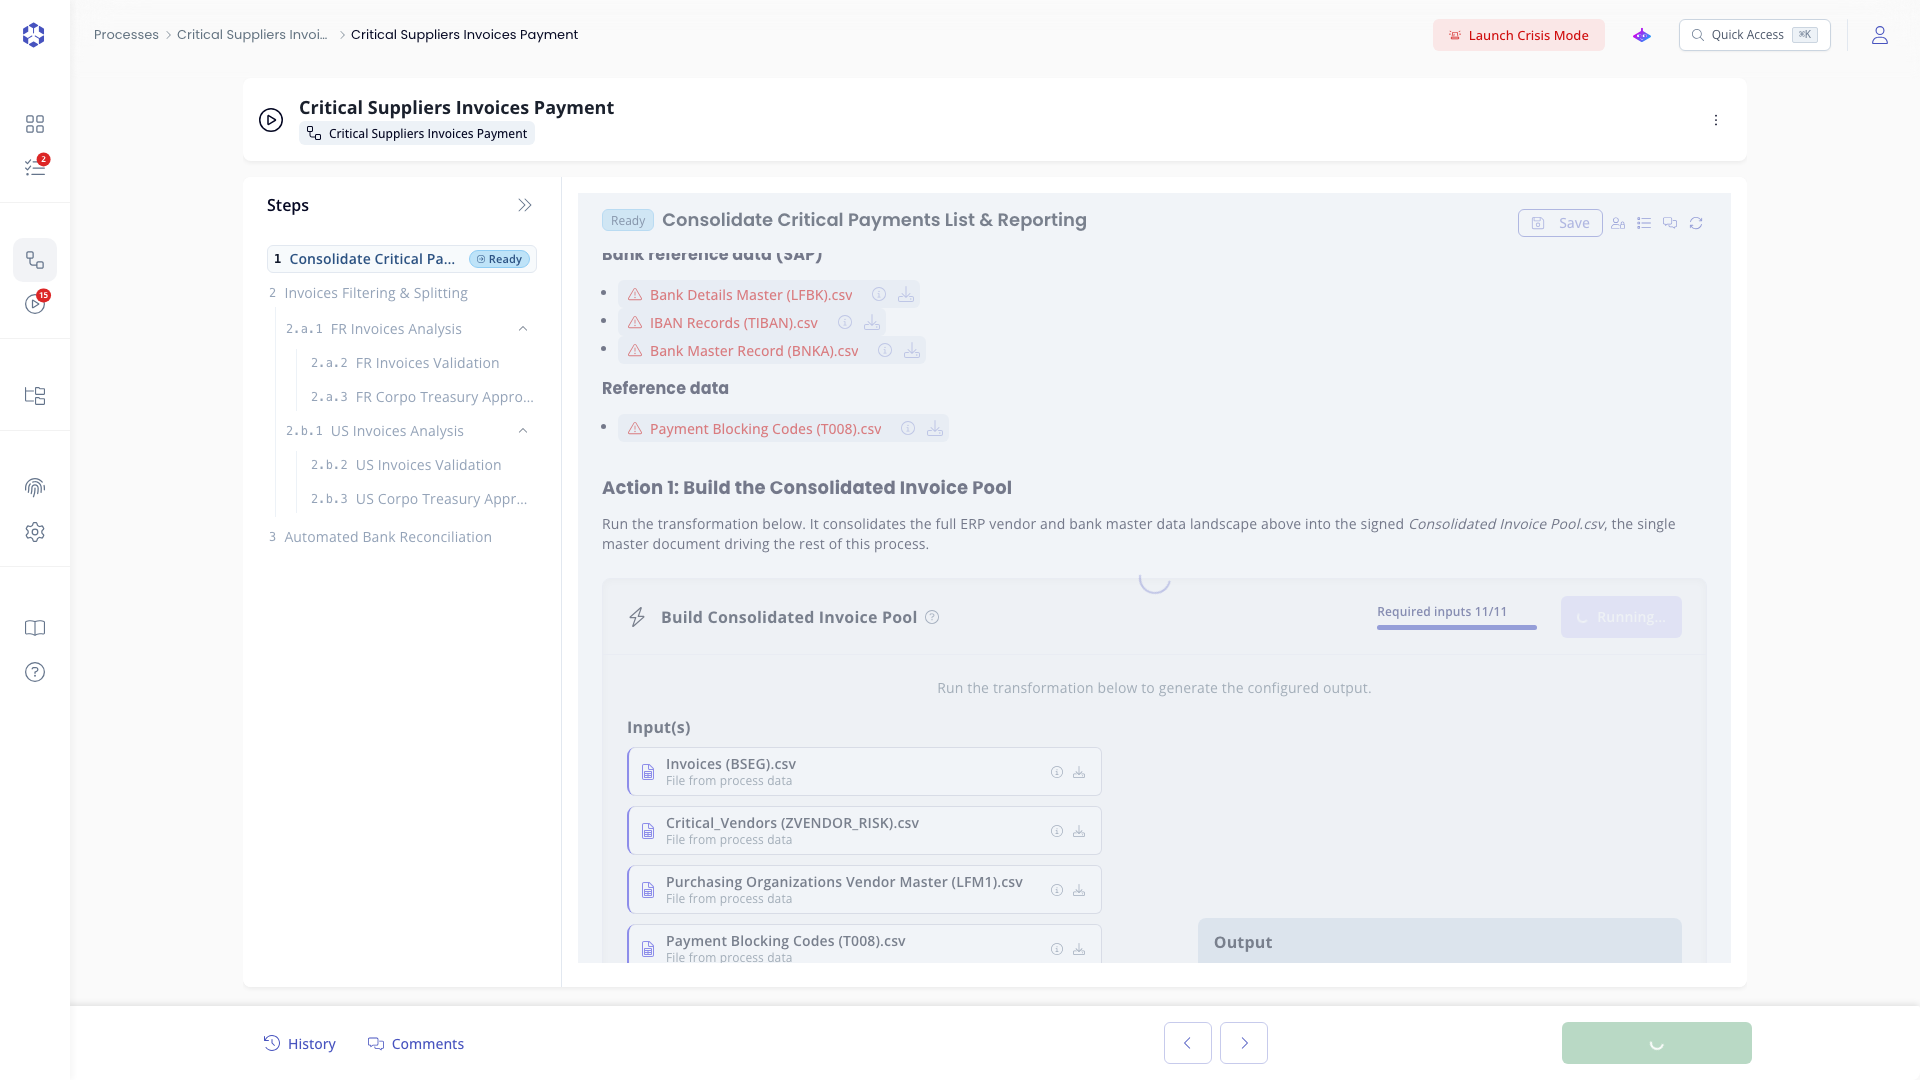 Automation running, with status spinner.
Long running transformations
If a transformation keeps running for more than one minute, an info box appears above it showing when it started, labeled Started at followed by the timestamp. Under it, a field labeled Request id: shows the request identifier for that run. Click the field to copy the identifier to your clipboard.
Keep this identifier (request ID) handy when a transformation seems stuck or unusually slow. Include it when you raise the issue with your administrator or with support, since it lets them find the exact run in the logs. The same identifier field also appears if the transformation fails, no matter how long it ran.
Step status
Each step carries one of these statuses:
| Status | Shown as | Meaning |
|---|---|---|
NOT READY | Not ready | A prerequisite isn't met yet. This is also what you see when you don't have access to the step at all: locked steps report the same "not ready" state either way. |
READY | Ready | Available for you to work on. |
IN PROGRESS | In progress | Has unsaved input or a running automation. |
DONE | Completed | Marked complete. |
FAILED | Failed | An automation on the step errored. |
SKIPPED | Skipped | Skipped instead of completed. |
Whether a NOT READY step becomes READY is decided by the backend once its prerequisites are satisfied; the app doesn't expose the exact rule (it's not always "every earlier step" ; the process graph can branch). If a step stays NOT READY longer than expected, check the execution's graph view to see what it's still waiting on.
Completing a step
- Click Save, at the top of the step panel, to save your current inputs without marking the step as complete. No validation is run.
- Click Mark as complete, in the step footer, to validate all required fields and mark the step as done (
DONE). This is disabled while: the execution isn't editable (onlyIN PROGRESSandFAILEDexecutions are), a save or status update is already in flight, the step is locked or not ready, any file operation on the step is still uploading, any automation on the step hasn't finished running successfully yet, or you don't hold a role that can execute the step.
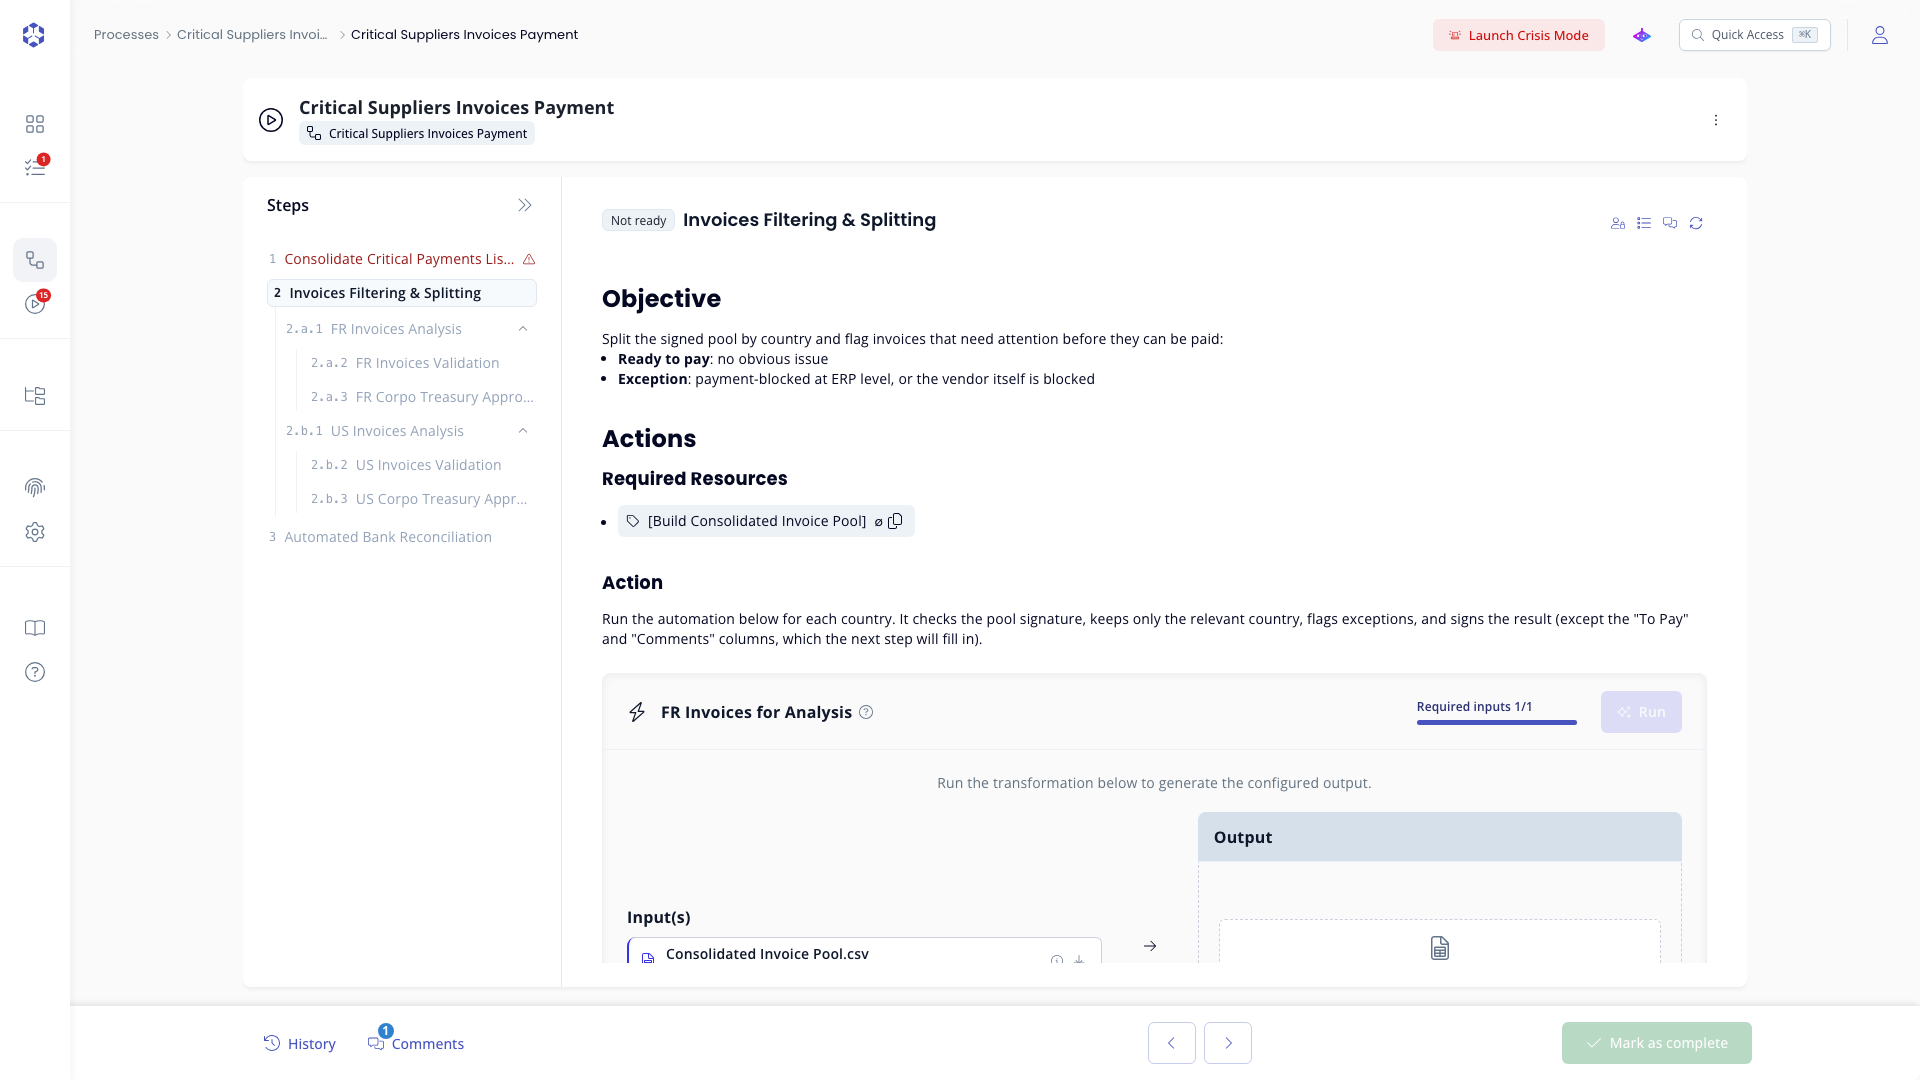 Step footer: History, Comments, navigation, Mark as complete.
Skipping a step
Skip is only offered on a step that was marked skippable when the process was built (see Adding a step) ; it doesn't appear at all otherwise. Click it to mark the step SKIPPED and move on. There is no confirmation dialog: the skip happens immediately on click. The same conditions that disable Mark as complete also disable Skip (execution not editable, step locked or not ready, an operation still in progress, no execute permission).
Reworking a step
Managers and Contributors can rework a step that's DONE or SKIPPED ; the button is labeled Rework step in both cases. A confirmation dialog warns: "This will change the step status back to Ready for execution and may affect subsequent steps." Confirm to reset the step to READY with all inputs editable again.
That "may affect subsequent steps" warning is deliberately non-specific: reworking a step re-fetches the real status of every step after it from the backend, so any of them can drop back to NOT READY if they depended on something this step's redo now invalidates. Which ones are affected depends on the process's structure and isn't something the app tells you in advance ; check the graph view after confirming to see what changed.
A FAILED step behaves differently: instead of Rework step, the button reads Retry step, and re-runs the step directly without the confirmation dialog or resetting your existing inputs.
Tasks
Tasks can be attached to an execution or to individual steps to track work that needs to happen outside the platform: follow-ups, manual checks, approvals, and so on.
Execution-level tasks
From the execution detail page, click the Tasks button to open the tasks panel. It shows all tasks linked to this execution, grouped by status (Not started, In progress, Done).
Click Create task to open the creation form:
| Field | Required |
|---|---|
| Name | Yes |
| Description | No |
| Assignee | Yes (must be a user with access to this execution) |
| Priority | No (defaults to Medium) |
| Due date | No |
The task is linked to the execution and appears in the assignee's Tasks page. The creation form also shows a separate, read-only Relates to field set to This Kit, indicating the task is linked to the execution itself rather than to a specific step.
Step-level tasks
While working on a step, click the Tasks icon in the step panel to open the step tasks drawer.
Click Create to add a task linked to that step. You can also set the Relates to step field to link the task to a different step in the same execution.
The task appears in the drawer after creation and in the assignee's Tasks page.
Resuming an existing execution
From the process detail page, open the Executions tab and click any existing execution to resume it.
Changing an execution's status
Next to an execution's name (on the execution detail page, or from its row on the Executions tab), click the ⋮ icon (Manage execution status) to open the status menu. Its options depend on the execution's current status:
- In progress: Mark as Completed, Mark as Cancelled, Archive.
- Failed: Mark as Cancelled and Archive (no Mark as Completed option while the execution has failed).
- Completed or Cancelled: Resume Execution (sets it back to In progress) and Archive.
- Archived: Resume Execution only.
Cancelling or archiving an execution does not delete anything, it just changes the status label and the color of the banner shown at the top of the execution: cancelled executions show an orange "This execution was cancelled" banner, archived ones show a gray "This execution is archived" banner. Both banners include a Resume button as a shortcut back to the same Resume Execution action. A cancelled or archived execution can always be resumed later, nothing is permanently lost.
History
Click the History button on an execution to view a log of all actions taken. If you have access to only some steps, the log shows only those steps.
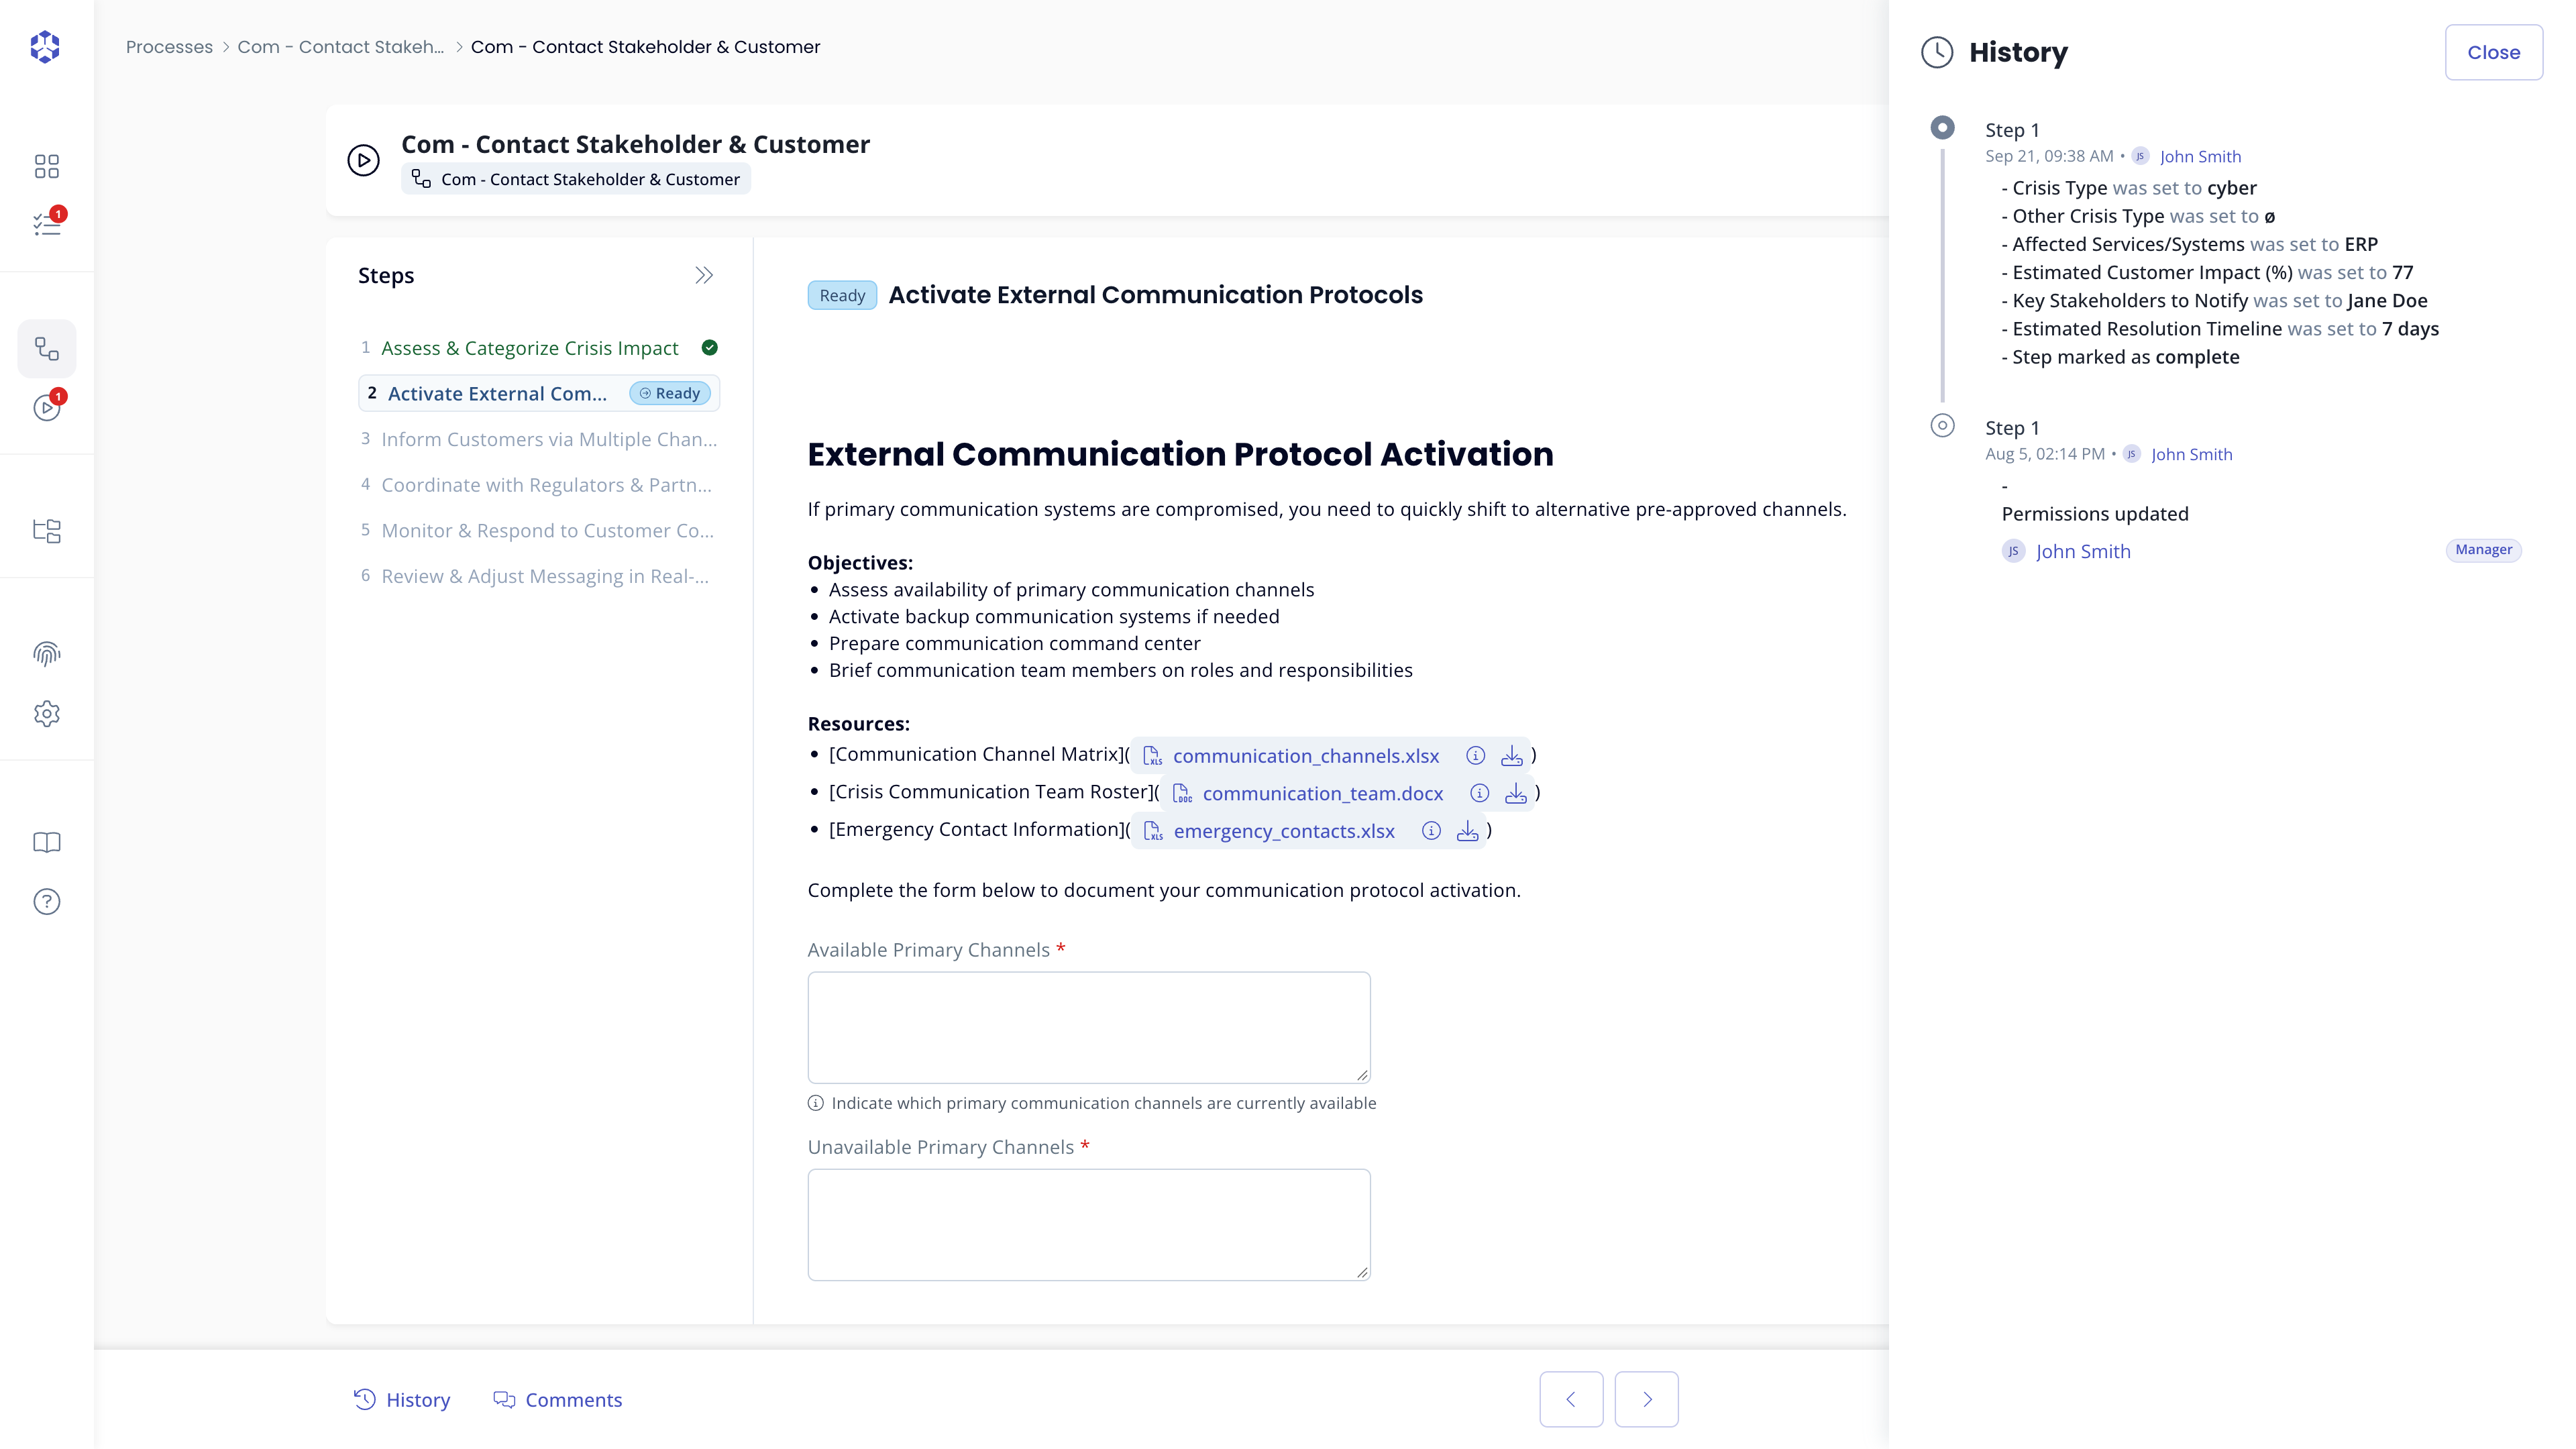 Execution history log.
Comments
Comments can be added at execution level or at step level. Open the comments panel by clicking the comments icon.
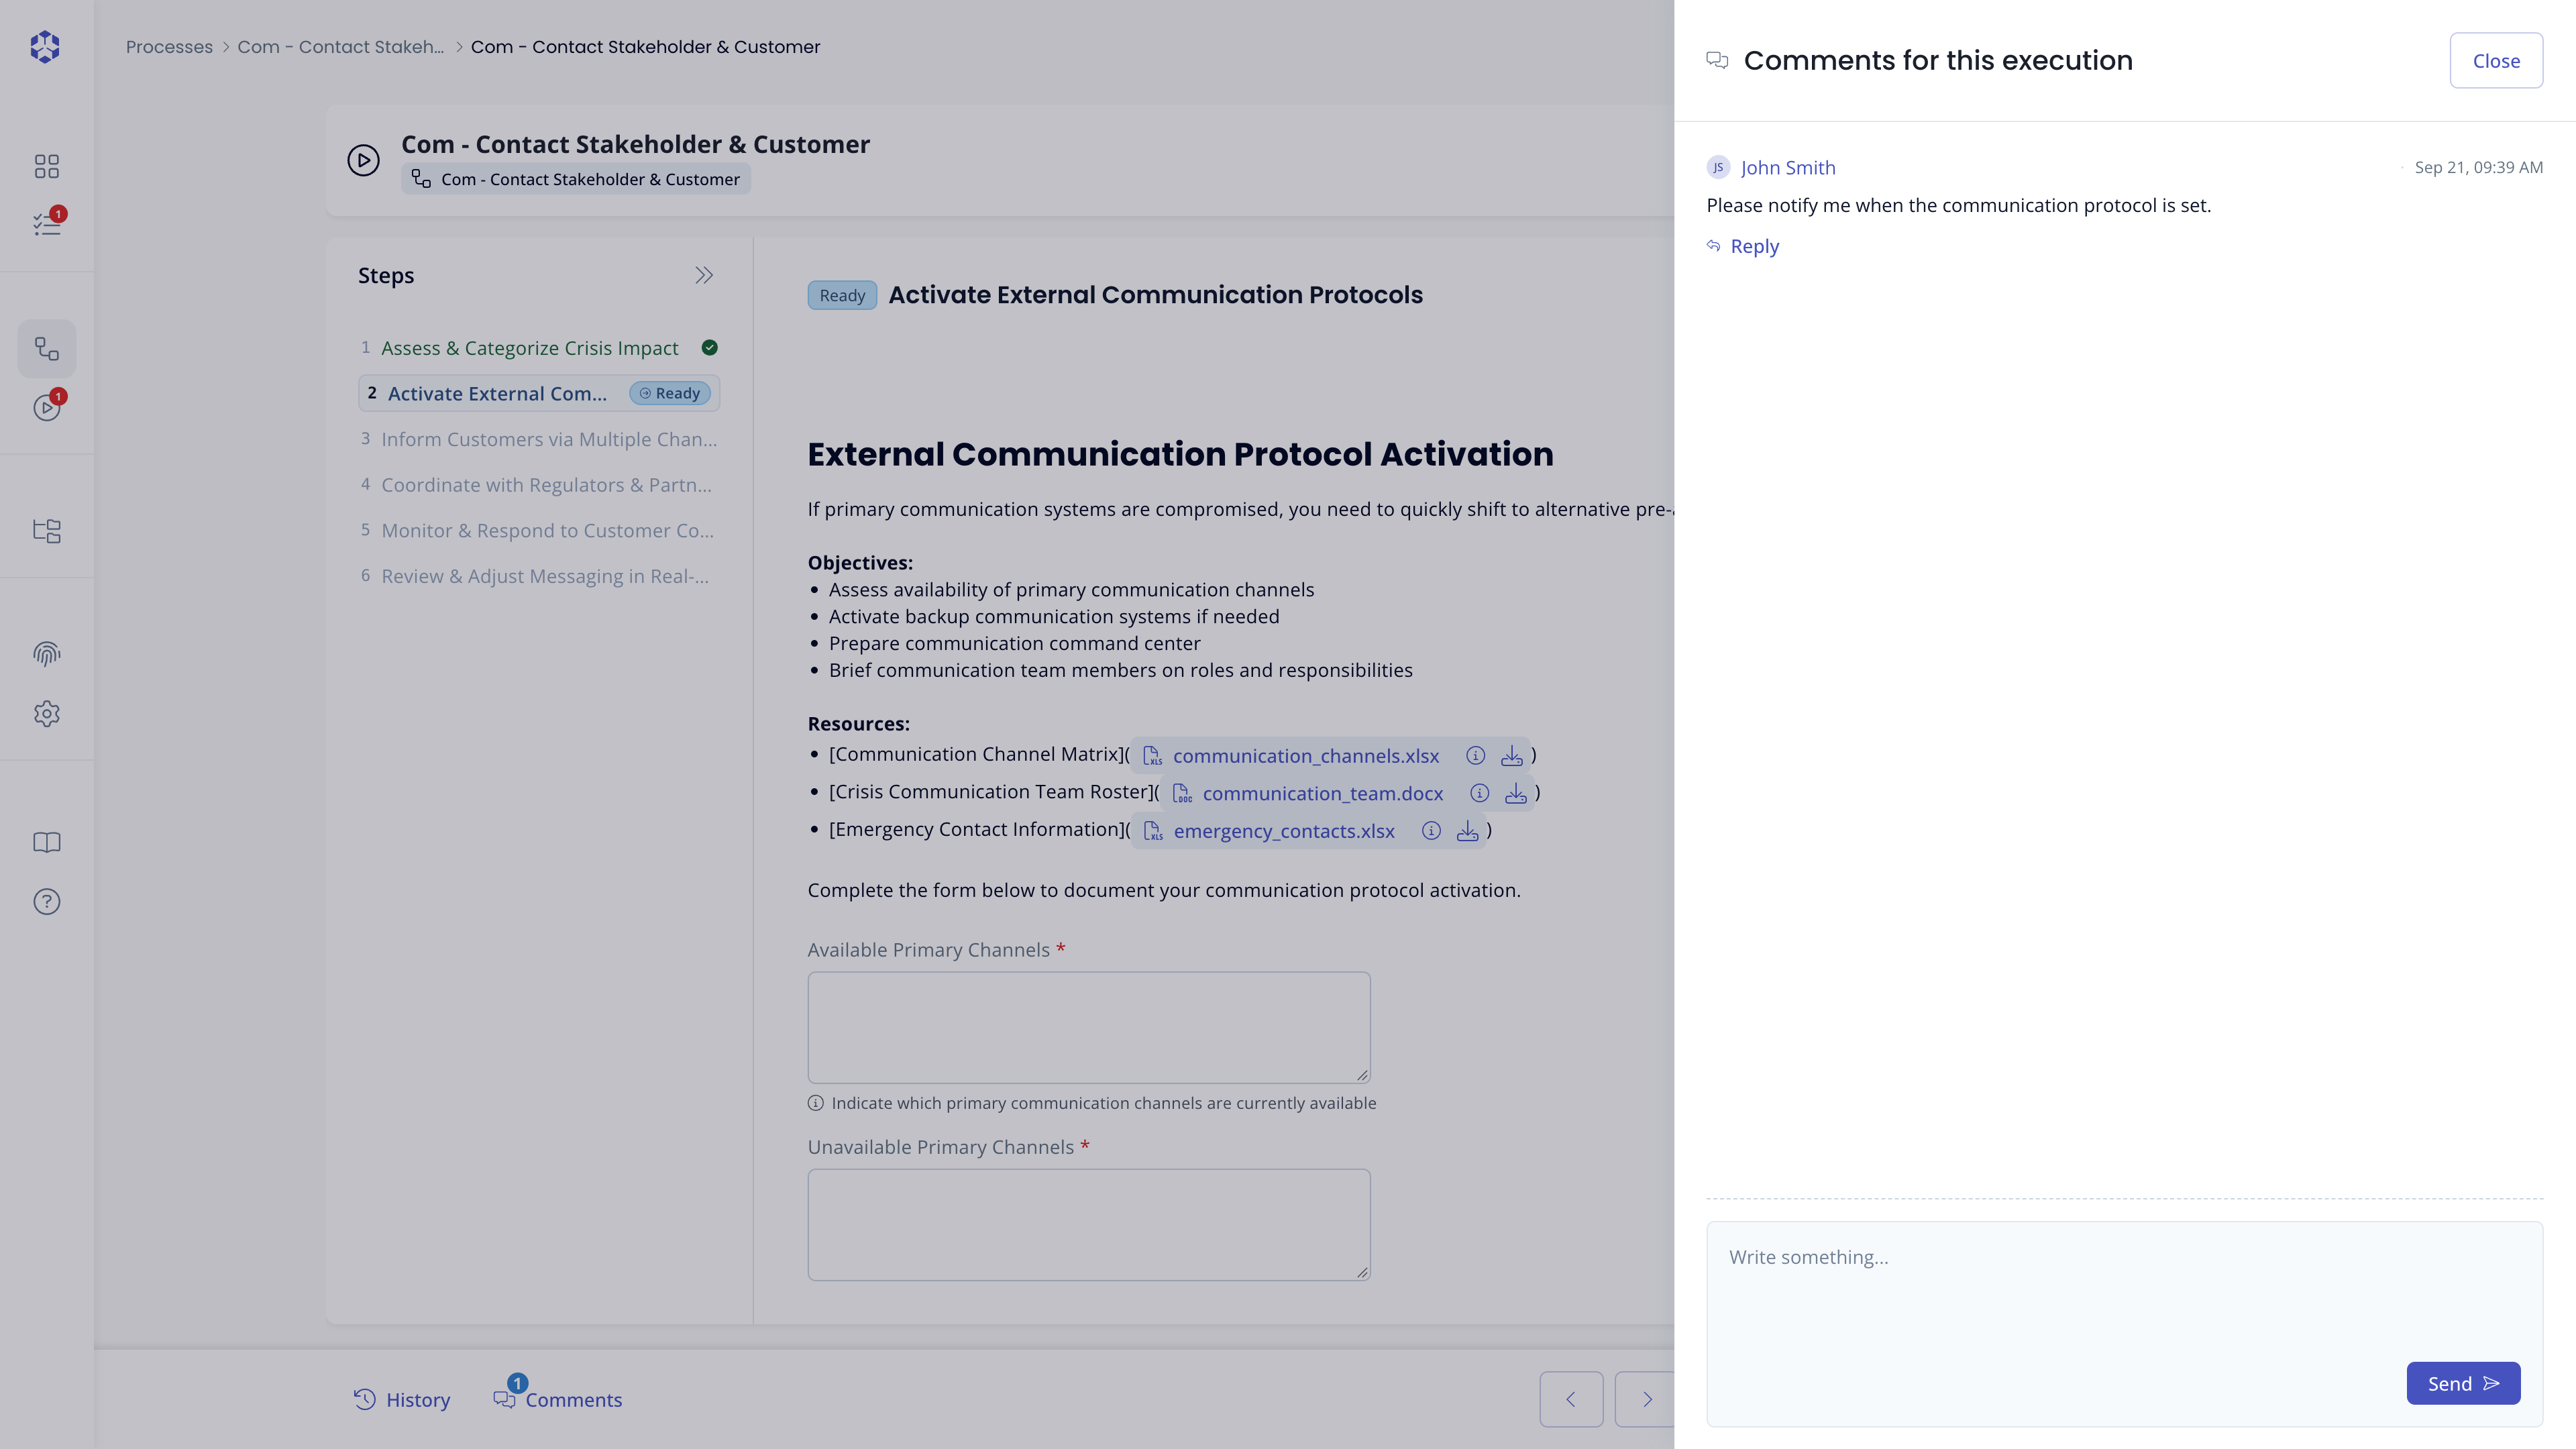 Comments panel.