Automations
Configuring automations is part of editing a process and requires ck:GetKit and ck:UpdateKit.
Automations let you define data transformations within a step. At execution time, contributors run these transformations to produce output files or values from input data.
Adding an automation
Inside a step in the editor, click Add automation. A new Automation item appears in the step.
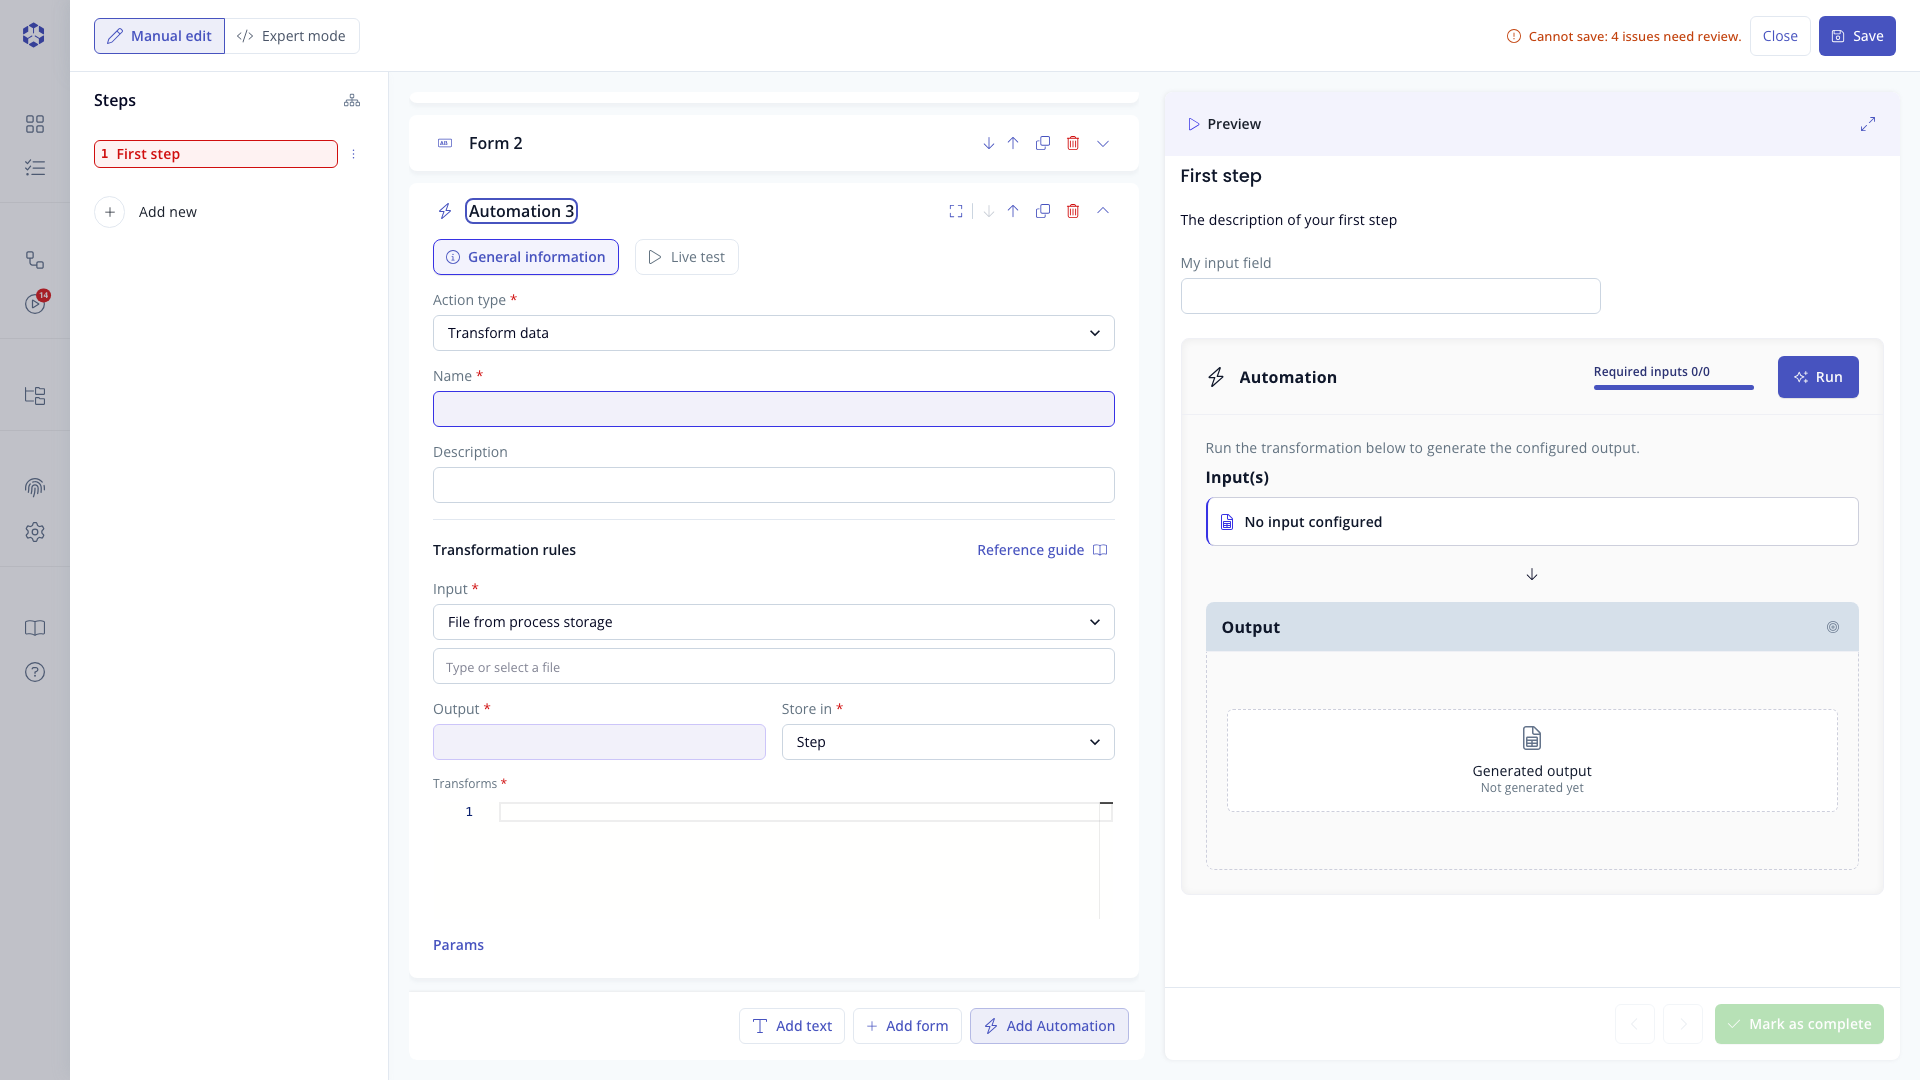 New automation item added to a step.
Configuring a transformation
The configuration form has these fields:
-
Action type (required): what kind of automation this is. Currently the only option is Transform data.
-
Name (required): used to reference this automation's output in subsequent steps via
@value:"name". -
Description (optional): free text, shown alongside the automation for context.
-
Input (required): the source data for the transformation. The dropdown offers:
- File from process storage: pick a file directly from the process bucket, either by typing its path (with autocomplete) or browsing.
- One entry per file-type input already produced earlier in the process, labeled Step N - <label>. Selecting one of these lets a later automation consume an earlier step's or an earlier automation's file output directly, chaining transformations together.
-
Output (required): the name given to the produced file (for example
result.csv, including its extension). This field auto-fills as<name>-output.csv(or.xmlif the input file is XML) while you type the Name field, and keeps following it automatically. As soon as you type your own value into Output directly, auto-fill stops for that automation, even if you later change the Name again. -
Store in (required): where the output is written:
- Step (default): the result is kept at step level, visible to contributors when they run the transformation during an execution.
- Process storage: the result is written into the process bucket, and can then be selected as the Input of a later automation the same way any other process-storage file can.
-
Transforms (required): the transformation rules written in the Data transformation instructions. Click Reference guide above the rules field to open a drawer listing every available operation and its syntax, grouped by category, as a reference while writing rules.
-
Params (optional, advanced): click the Params link below the rules field to reveal Read params and Write params, two YAML text areas for fine-tuning how the input is parsed and the output is written (for example non-default delimiters or encodings). This is an advanced, rarely-needed option; leave both empty unless you have a specific parsing requirement.
When an input file is accessible (from a previous step, a previous automation stored at process level, or the process bucket), it is downloaded directly into browser memory. This powers autocomplete on column/field names in the transformation rules and lets the live test run without an extra upload step.
A first example
A minimal transformation using the SELECT operation, keeping only some columns and filtering rows by status:
SELECT "ID", "Name", "Amount" WHERE input."Status" = "Completed"
Given this input:
| ID | Name | Amount | Status |
|---|---|---|---|
| 1 | Alice | 100 | Completed |
| 2 | Bob | 50 | Pending |
| 3 | Charlie | 200 | Completed |
The output keeps only the completed rows, and only the selected columns:
| ID | Name | Amount |
|---|---|---|
| 1 | Alice | 100 |
| 3 | Charlie | 200 |
The Reference guide drawer (see field 7 above) has many more worked examples like this one, each with its own sample input and expected output, organized by operation.
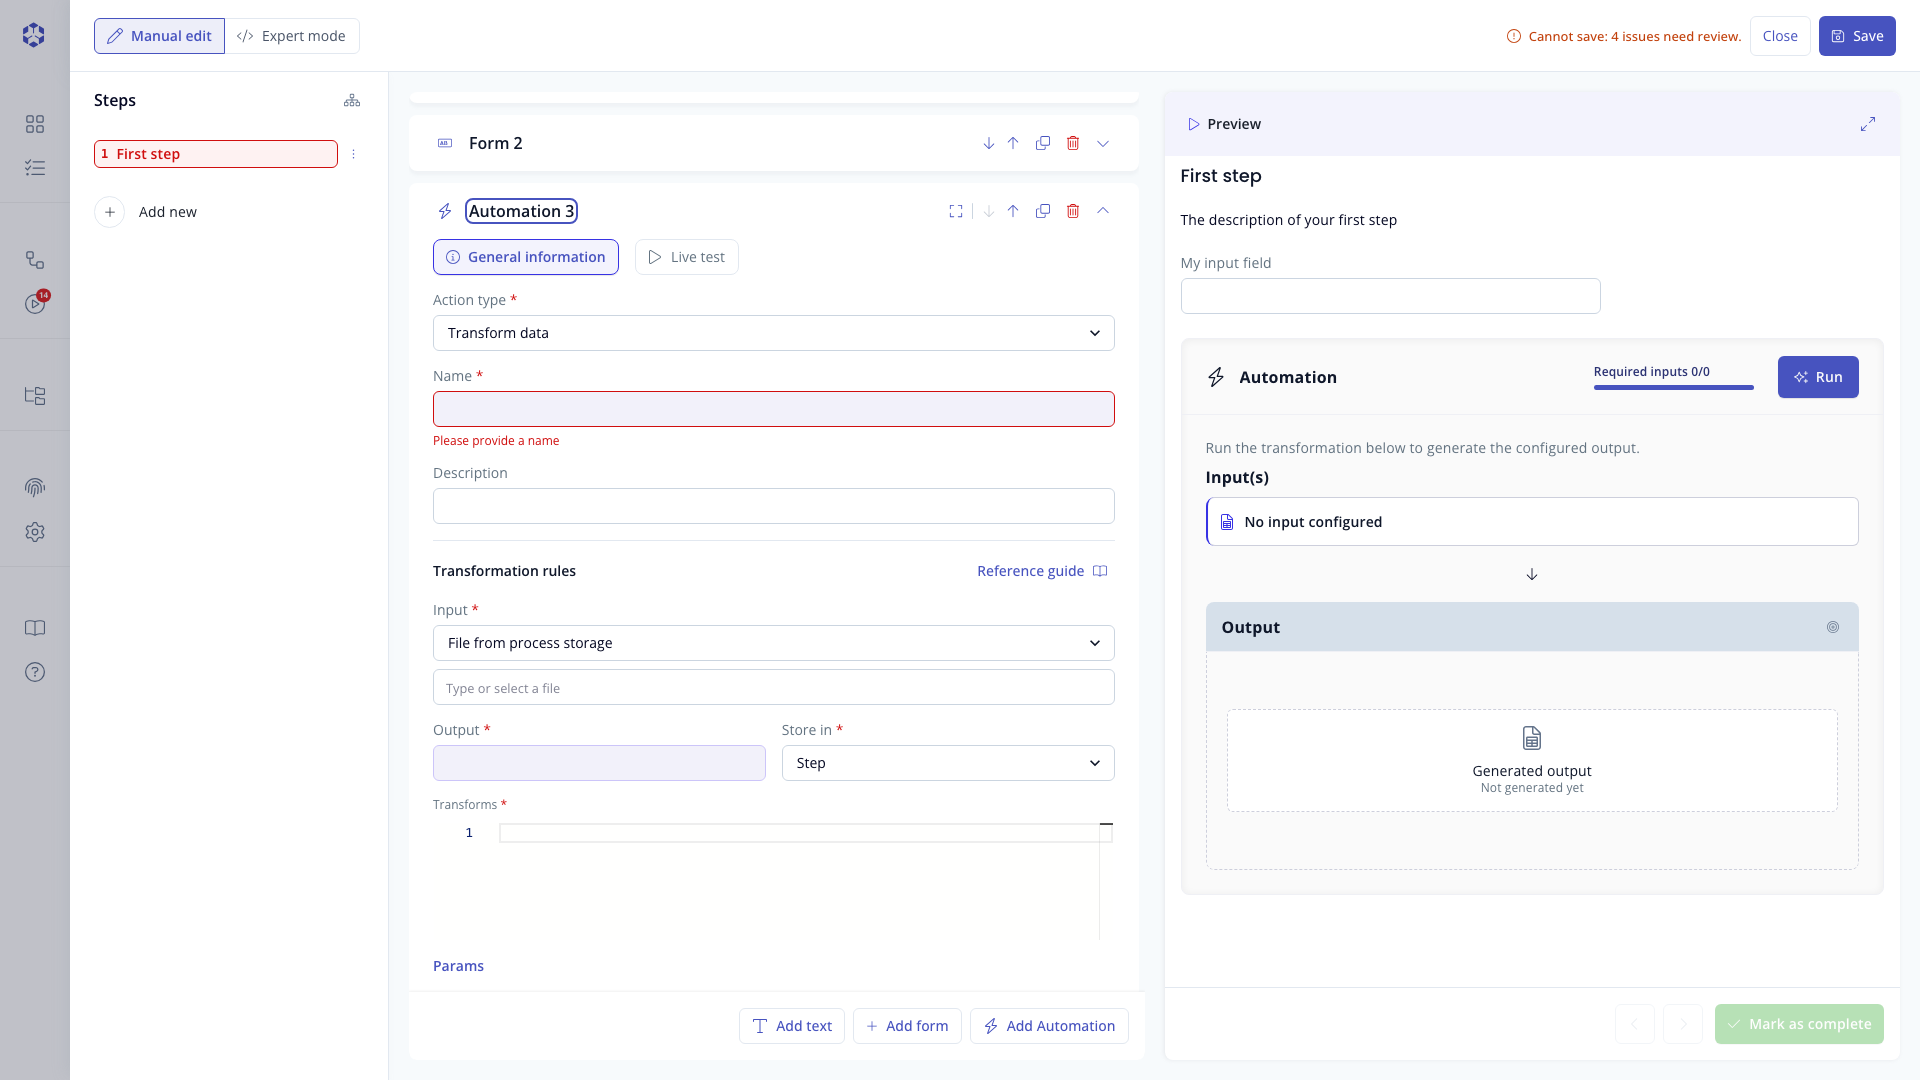 Automation configuration form.
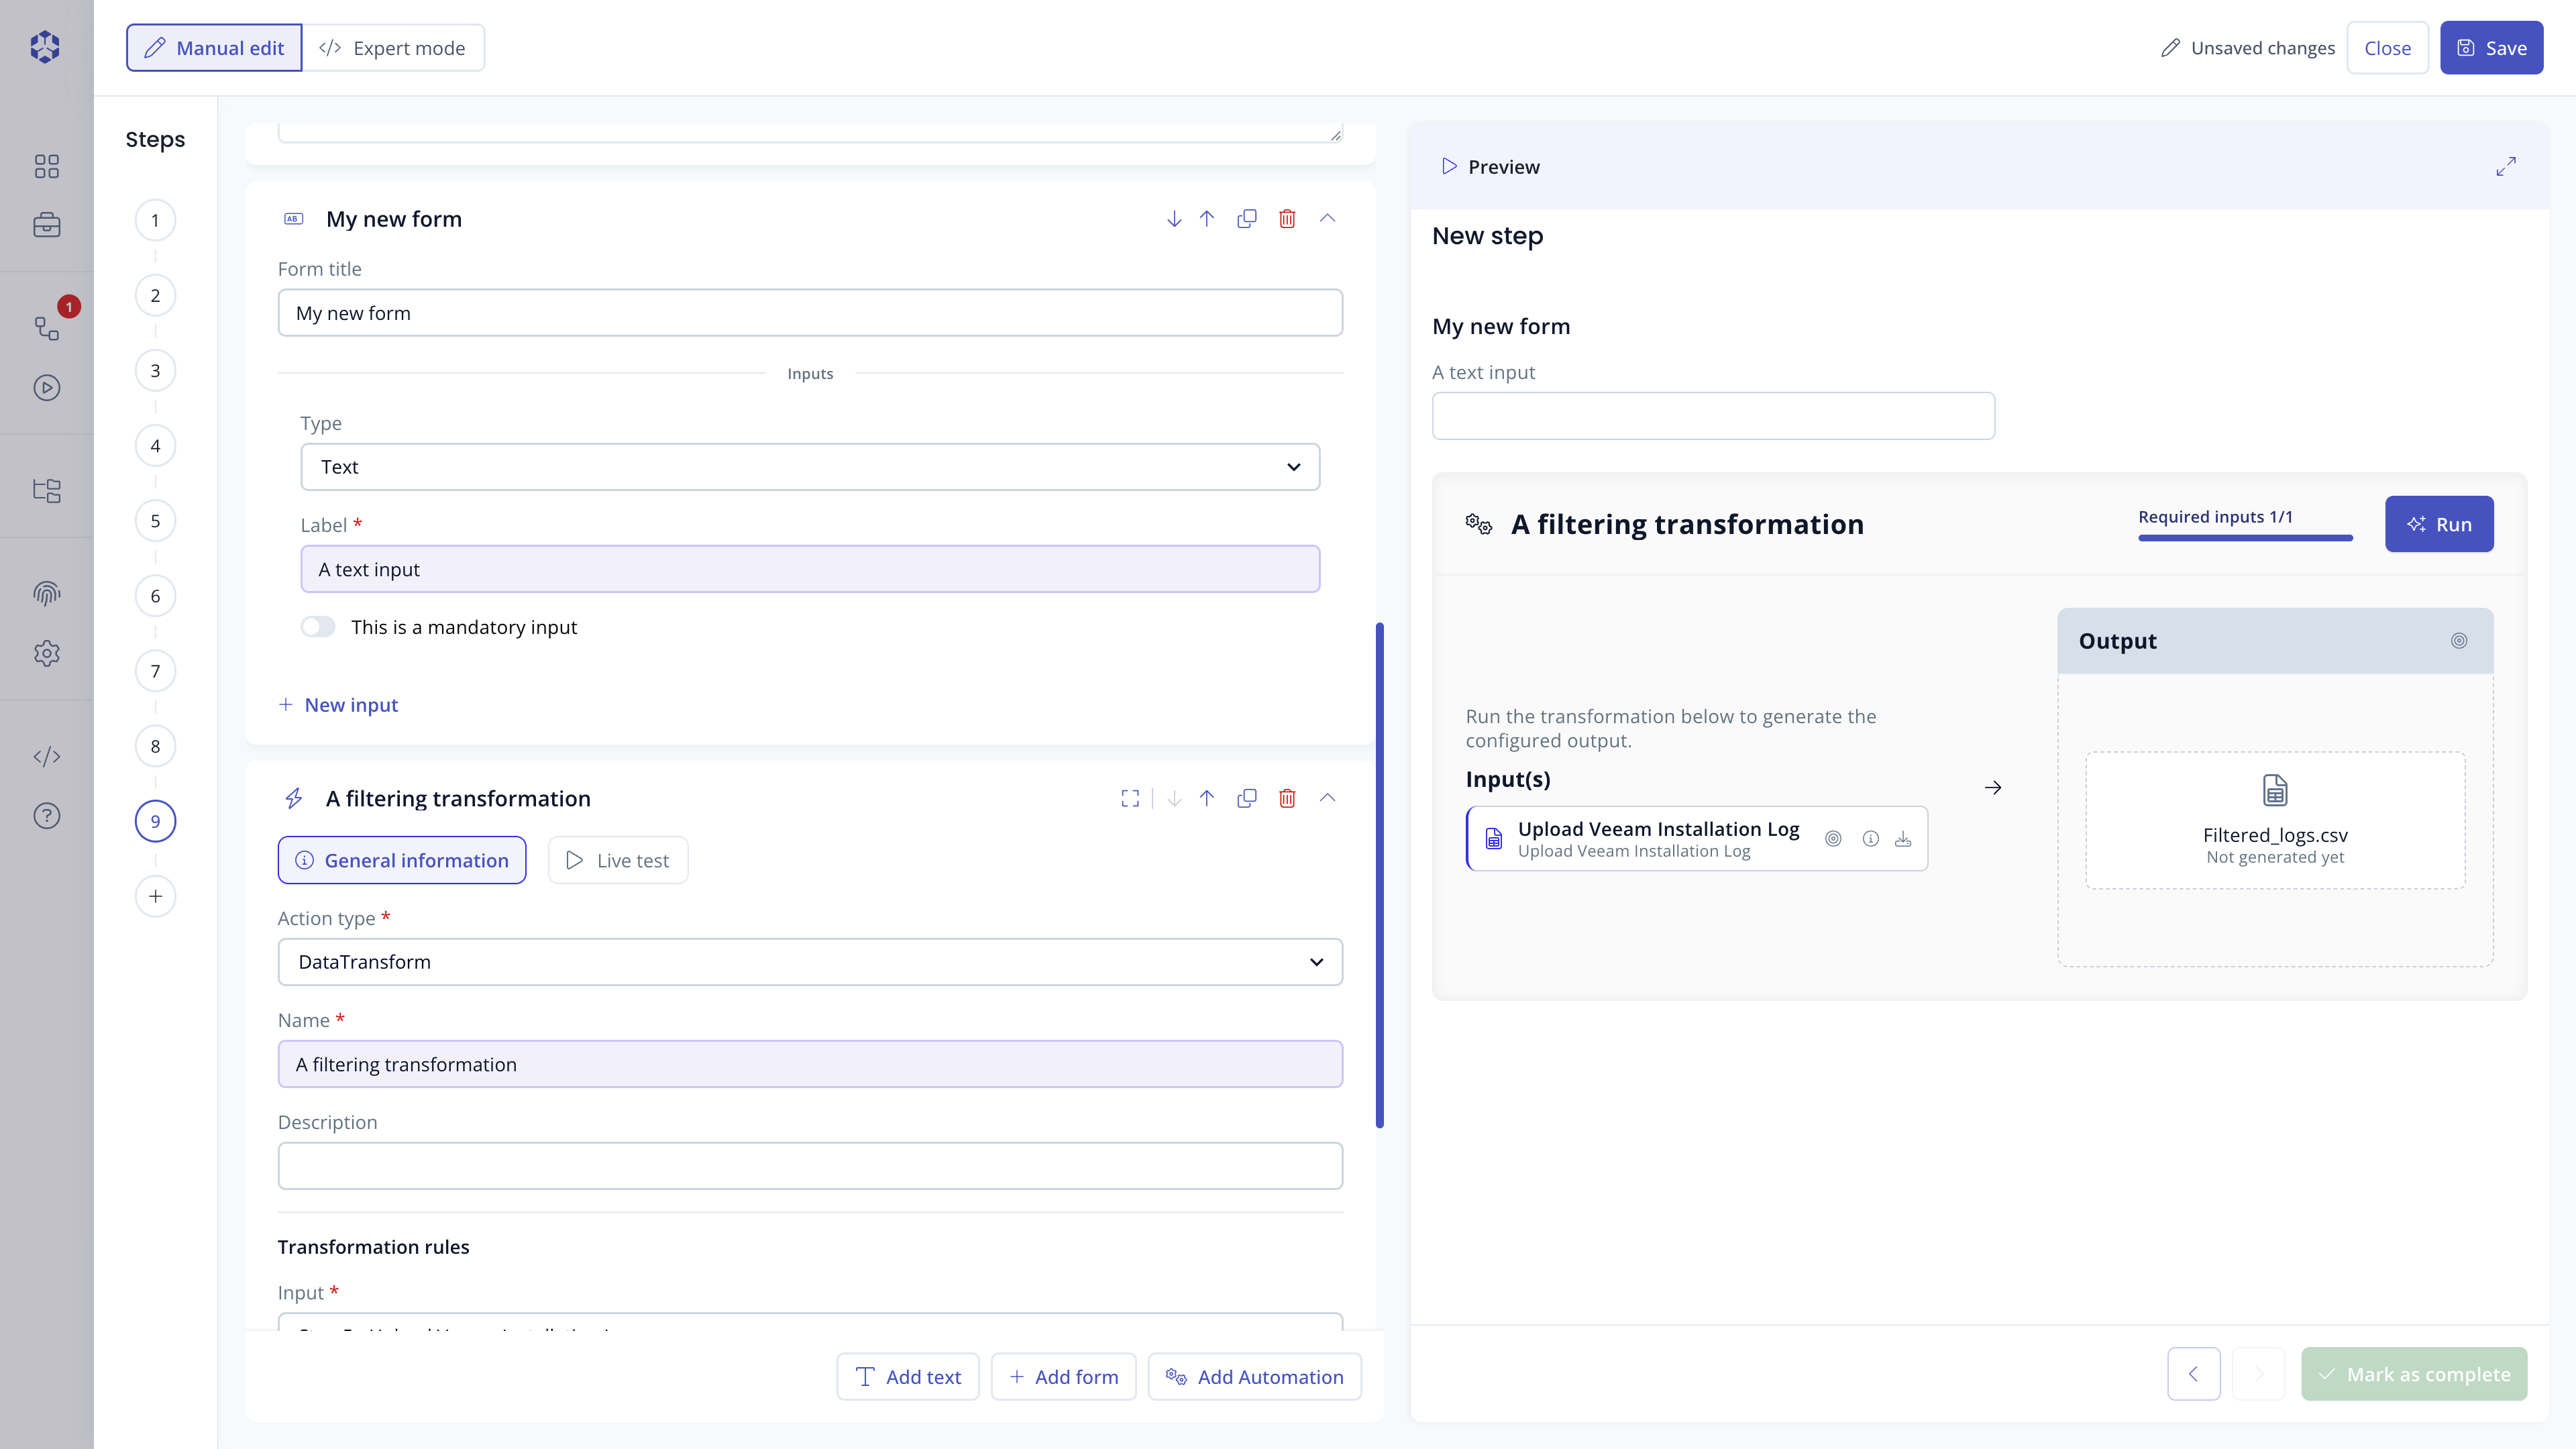 Form block and DataTransform automation, side by side.
Expanded modal
Click the expand icon on an automation to open the full editor in a modal. The expanded editor provides a large modal split view to manage your automation in a more effective way.
Live test
Live test is the tool used to try out a transformation before relying on it in a real execution.
Click Test on a transformation to open the live test panel. Any referenced input file that is accessible (from a previous step or the process bucket) is downloaded into browser memory automatically, so it's ready for testing without a manual upload. You can:
- Inject files manually for any input referenced in the transformation rules that isn't already accessible, whether by direct path (for example,
data/reference.csv?ckstorage=kit) or via an@valueselector - Inject values from a required previous input
- Run the transformation against the loaded and injected files
- Preview the resulting output in a table
This lets you validate transformation rules before running a real execution.
If a test run fails, a red Test failed card shows the error message returned by the transformation engine, letting you fix the rules without leaving the panel.
The total size of all files loaded or injected for a single test run ; whether auto-downloaded or manually uploaded ; must not exceed 200 MB.
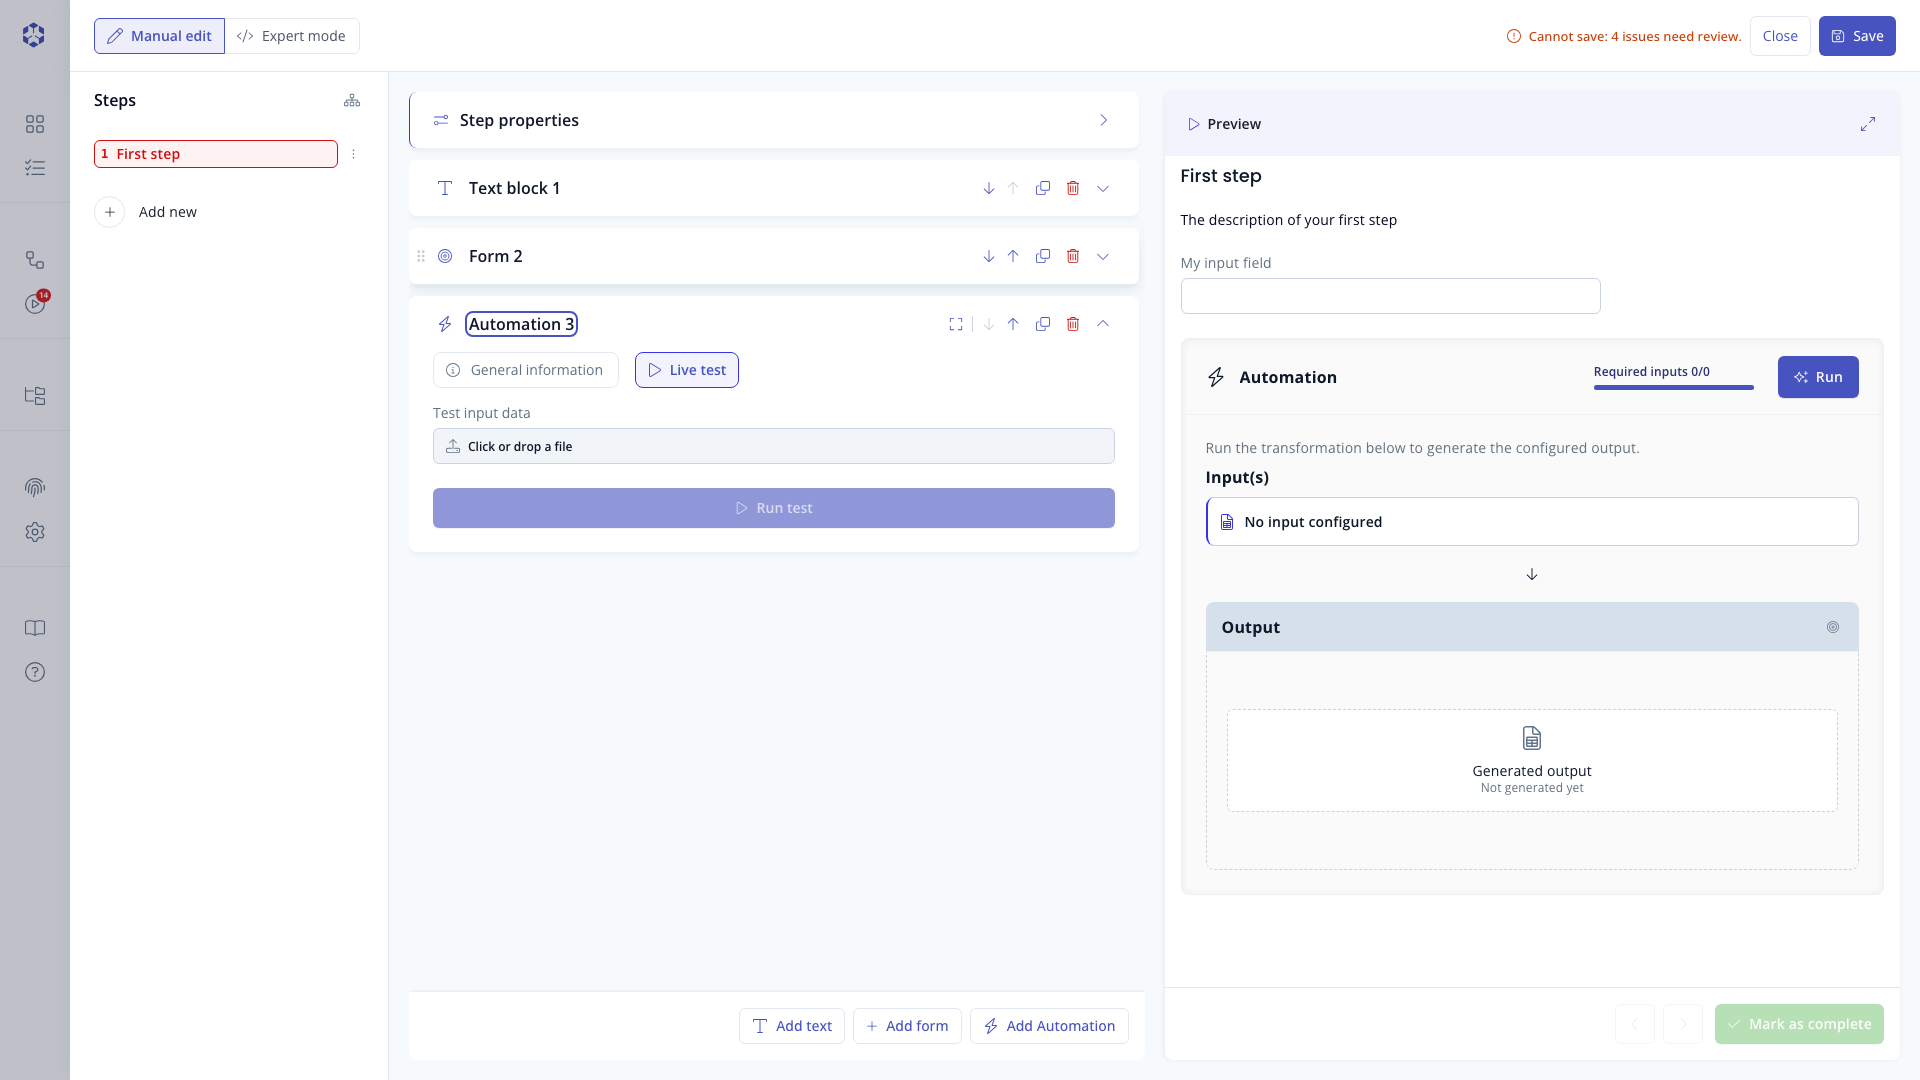 Live test panel with output preview.
Item actions
Each automation item supports the following actions via its action menu:
- Move up or down within the step
- Duplicate
- Delete
- Collapse or expand
- Open the advanced editor
- Run the live test